Downloadable Course Material
If you would like to approximately match the size of the artwork in the tutorial, print the downloadable files at 100% size. If you require your artwork to be smaller or larger, just adjust the print size accordingly.
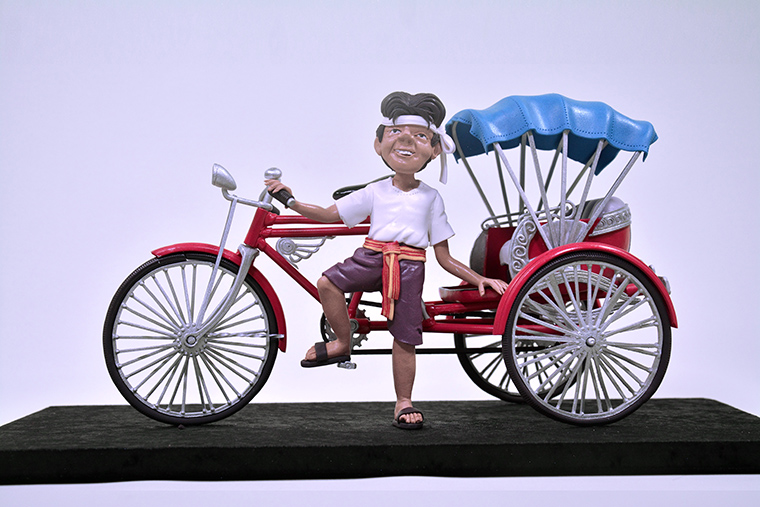
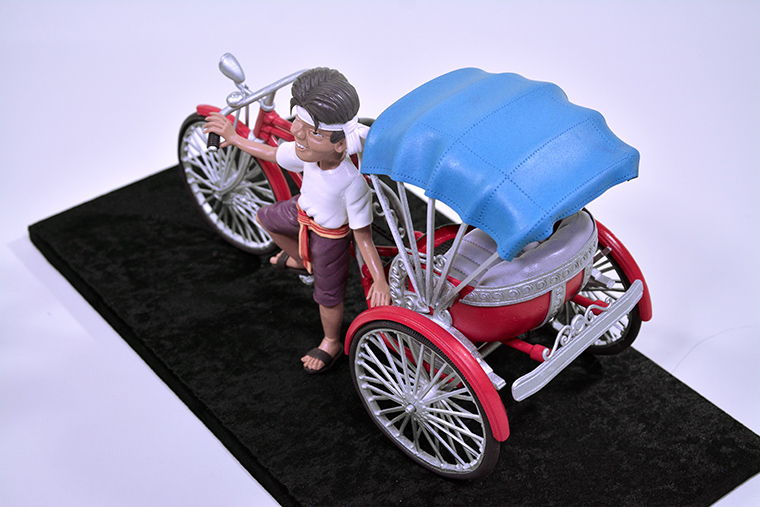
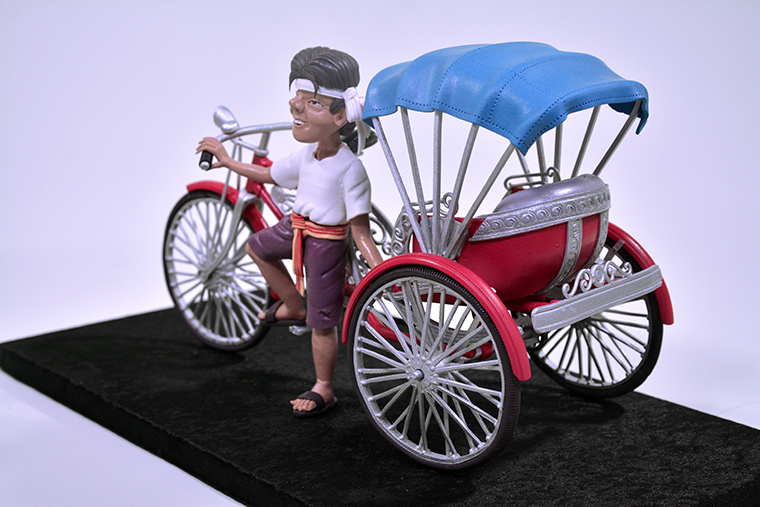
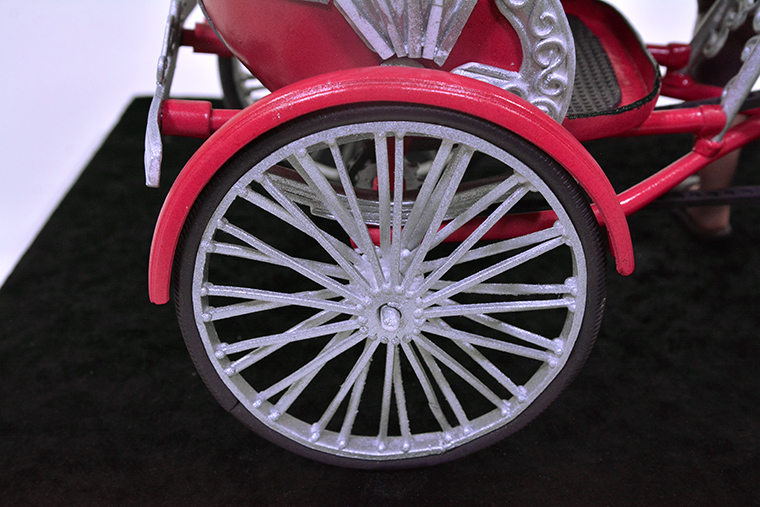
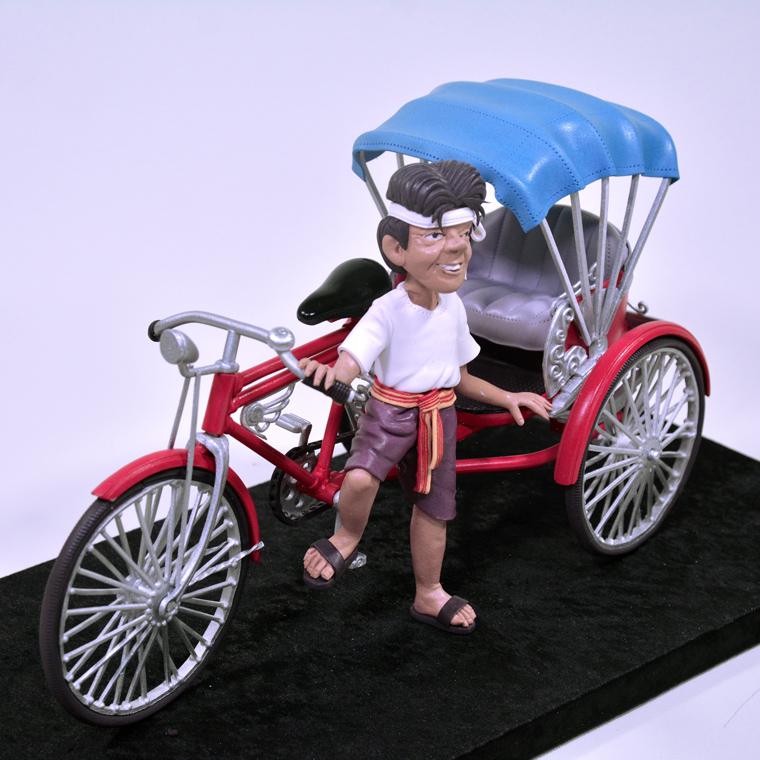
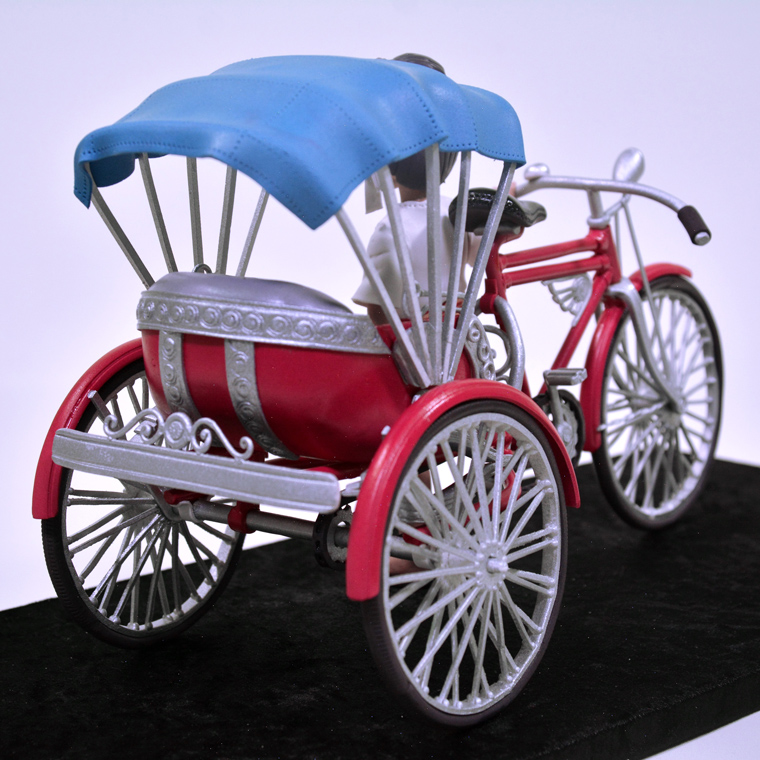
Trishaw Centrepiece Course Material
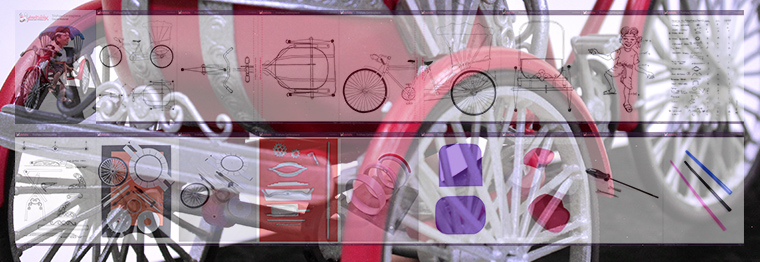
This PDF document contains templates and guides to help you with this tutorial.
While not everything on this list is absolutely required, these are the things used in this tutorial video.
Of course you are welcome to find alternative ways of doing things and we would love to hear if you've
discovered an easier method or better tool to achieve good results. Please note that some items may be listed as sets,
and it is usually recommended to have full sets, it may not be neccessary. In most cases, only one item from a set is actually used
in the tutorial. Please watch the tutorial before purchasing any items to make sure you are not buying anything you don't need.
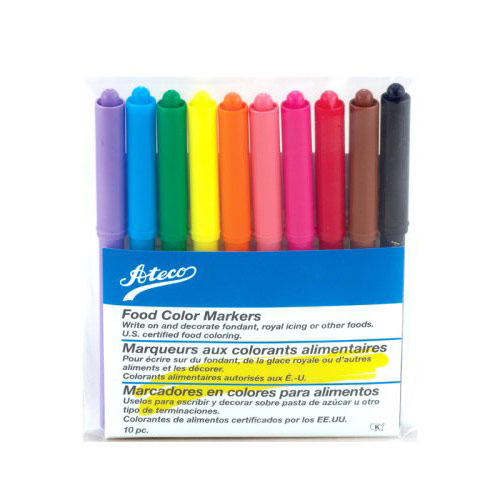
Tools & Materials
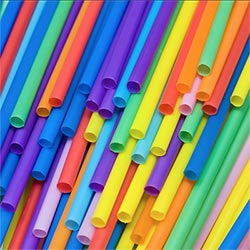
Rolling & Coating
- Set of PVC pipes (30mm to 40mm thick, 40cm & 20cm long)
- Rolling pin (30cm long)
- Powder shaker (Filled with starch)
- Needle or pin (to pop air bubbles)
- Perfections strips
- Fondant smoother
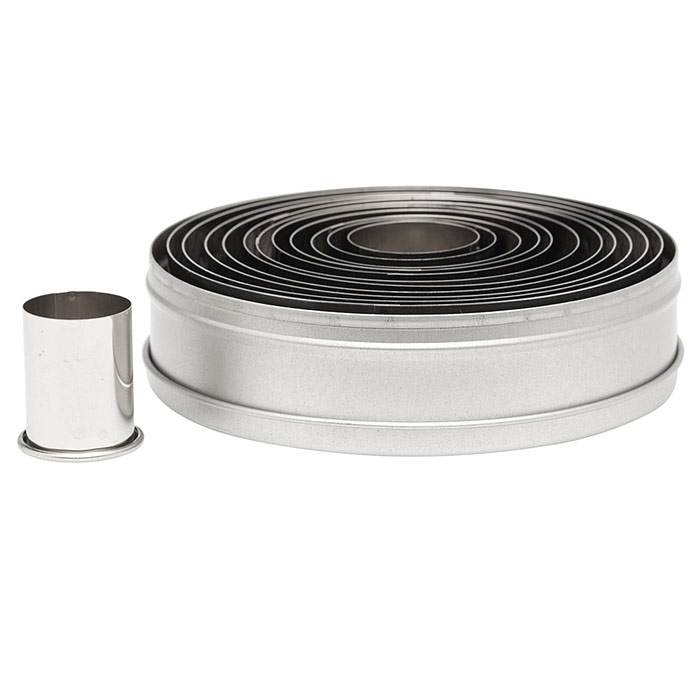
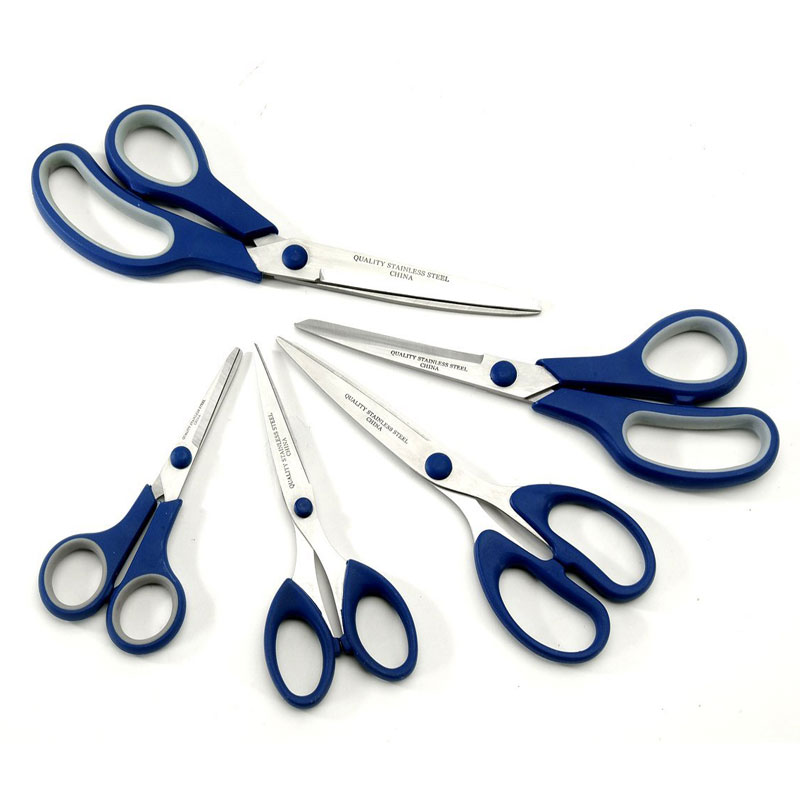
Cutting & Slicing
- Set of knives
- Craft knife
- Pizza cutter
- Box cutter
- Set of scissors
Modelling & Shaping
- Modelling tools
- Plastic cutlery (knife, fork, spoon)
- Hard pastry margarine/shortening
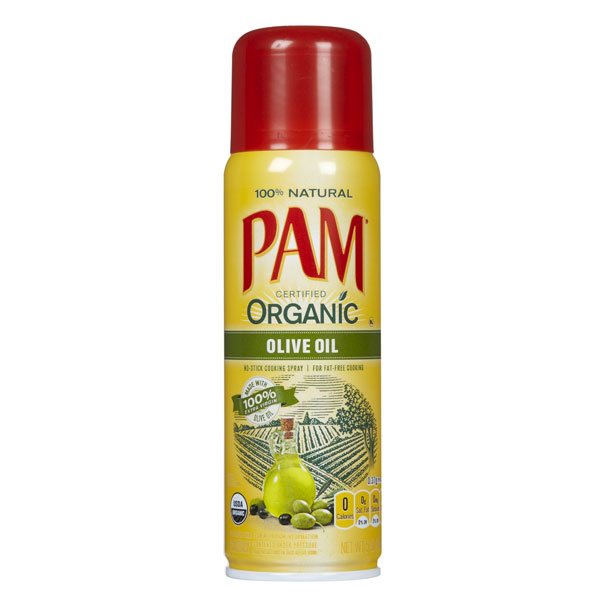
- Oil cooking spray
Planning & Templates
- Flipchart sheets (70cm x 50cm)
- Semi transparent silicon baking sheets (70cm x 50cm)
- White cellophane sheets (70cm x 50cm, on side matt)
- Basic stationary (pencils, marker pens, ruler etc.)
- Semi transparent plastic file separators
- Plastic sleeves
Special double blade tool
(see picture)
20cm long for marking tyres
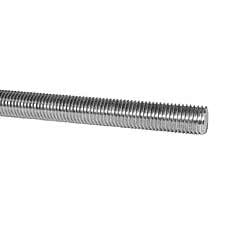
Threaded rod with 10mm diametre (also known as M10).
Eggwhite and brush
for gluing
Colour should be as light as possible to prevent discolouration in the fondant or pastillage.
Round metal file
4mm diametre
for carving and for using base to combine groups
Recipes & Ingredients
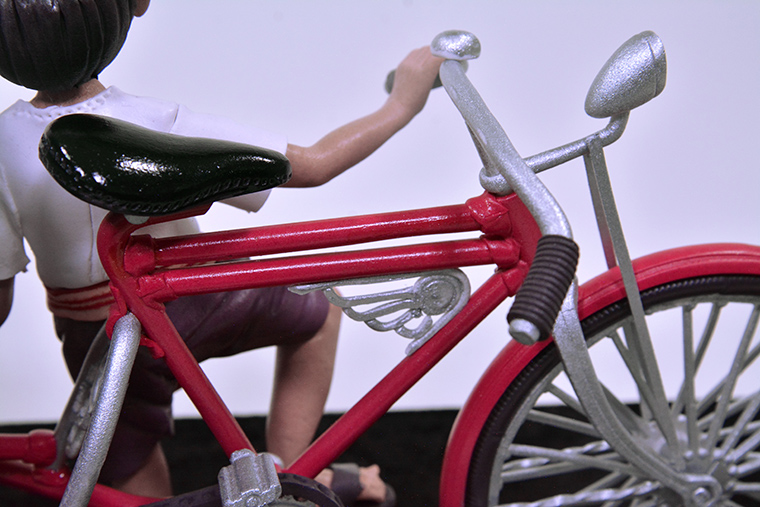
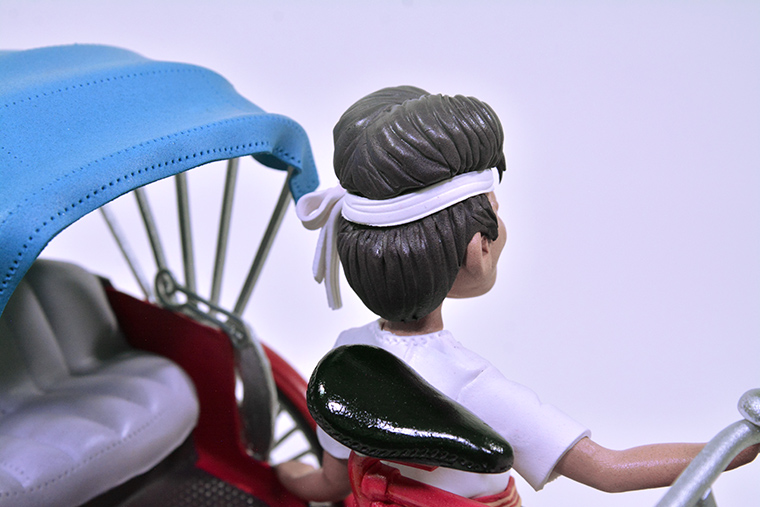
150g Denim
400g Burgundy
300g Black
300g Skin
300g Brown
150g Yellow
400g White
Some other colours produced by mixing the above colours
A thick sugar paste, similar to gum paste, that can be molded into different shapes and forms. When dried, it is hard and brittle. Unlike gum paste, pastillage dries much quicker and stronger. Made with gelatine, water and...
[read more]
Some to produce sloppy texture
Royal icing is a hard white icing, made from egg white and icing sugar (mix or pure). A little addition of an acidic substance like lemon juice, citric acid or cream of tartar, the texture of the icing can be improved....[read more]

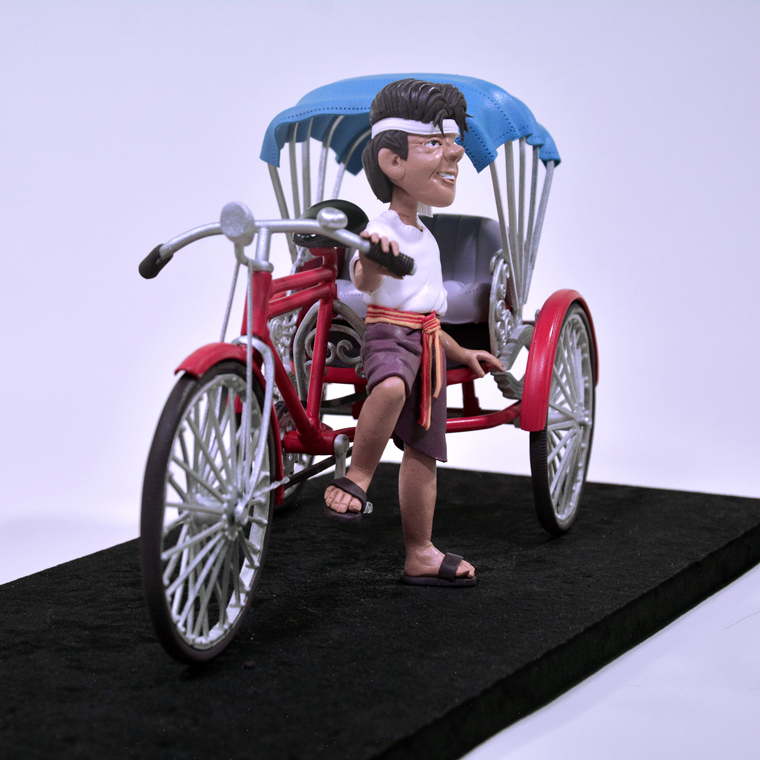

Hello, what a beautiful Trishaw Centrepiece tutorial. I want to know when there will be a new one.
I would like Master Yeners to make one of 3D swans in a lake for marriage